
As a custom home builder located in Orange County, where most of the undeveloped land still left to build on is on a steep hill, our new home projects are often on an incline. Often the grade of this sloping land can be quite steep! Naturally, building on a hillside comes with the risks of erosion, earthquakes, landslides, and slope creep. It can be such a fear that many homeowners will not even consider building a home on a steep hill, canyon side or cliff. Here at James David Custom Homes, we specialize in building homes on a grade and hope that by sharing with you the process of how we build, that it will settle some of those nerves when it comes to protecting your home from the dangers associated with building on a hillside. Follow along in our Building on a Hillside Series, starting with part one:
Grading
So you’ve torn down an existing property, purchased undeveloped land or even just have decided to add a few rooms onto your home. First things first, start with the foundation right? Wrong! Before we can even begin building a foundation for your new home or room additions chances are you will need to do some grading. Everyone knows how important the foundation of a home is, but before we can even start on the foundation we have to talk about grading.
Grading is the process we use to create a flat surface on which to build our foundation and home. When building on a relatively flat surface, it’s much simpler, but we still want to make sure that there is proper drainage, and we take into consideration the type of soil we’re building our foundation on and depending on the build anchoring the foundation into bedrock.
When building on a hillside the process is much more complicated and expensive (the cost of grading and the foundation can often be more than the cost of the home itself). When it comes to grading on a hillside this is the process that we follow:
Preparation
Step One: Assemble the team
Before we can even make a proper plan on how your home is going to be built we need to know what we are getting into depending on the design of the home and site where it’s going to be built. That’s where choosing the right team is super important. the professionals you choose will not only determine the aesthetic of your home, but how much work, time and money will need to go into making your hillside home safe.
Starting off the architect will design the home. We work with architects that specialize in designing homes that are built on or into a hillside, and it is very important to make sure your architect has experience designing hillside homes and not just pumping out designs for a housing tract development. Next the architectural engineer will take these designs and work out how the structural, electrical, mechanical, lighting, acoustics and fire protection will actually function in the home. Next the soil engineer and civil engineer will survey the property and review the designs in order to approve them for the build site.
Step Two: Core Samples
Cores samples will then be taken by the soil engineer in order to determine how deep we will need to drill in order to reach bedrock. His findings determine the size of the caissons, grade beams and retaining walls.
Step Three: Property Survey
Our next step will be to survey the property and mark the property corners. This step is critical before building to ensure that none of the build encroaches the surrounding properties.
Building the Retaining Walls
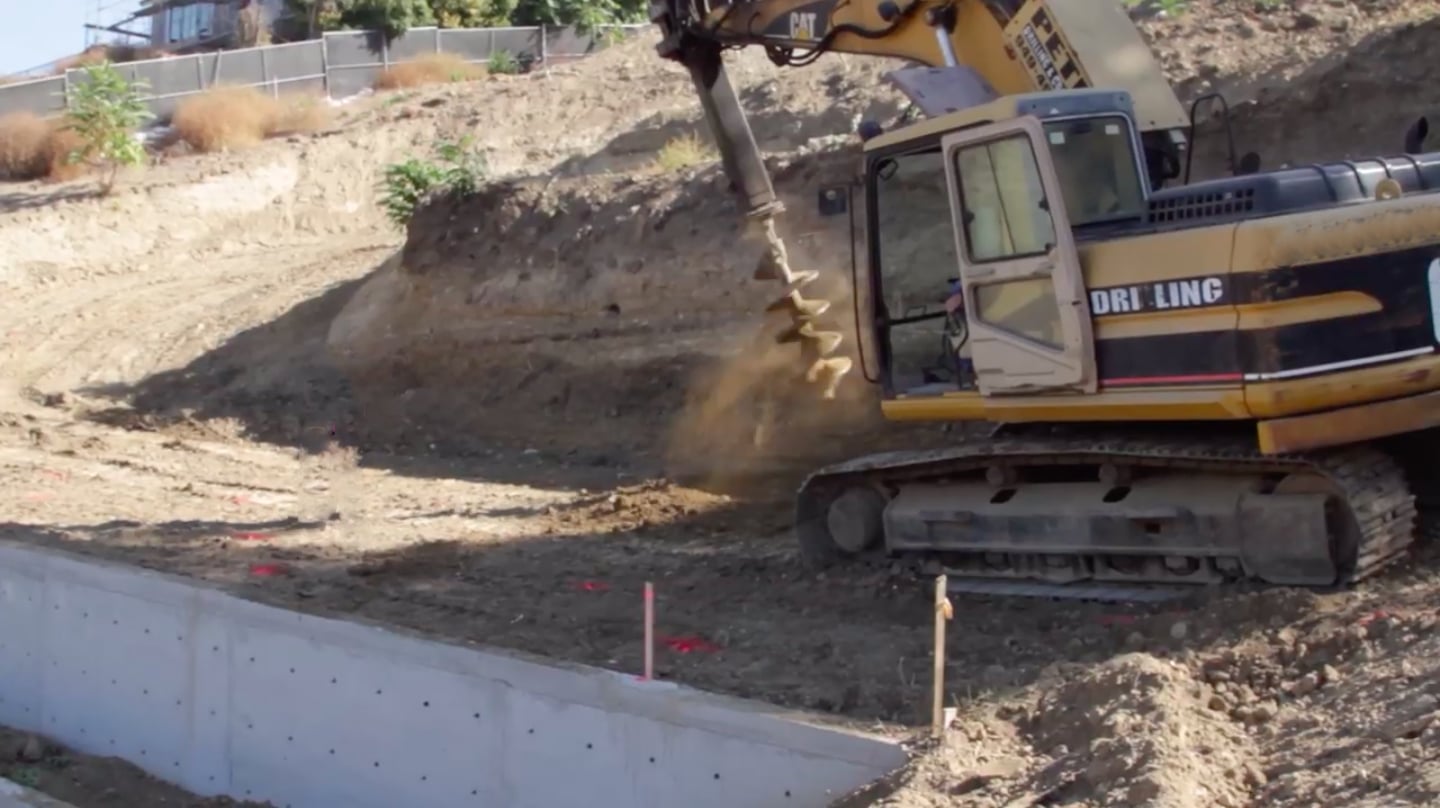
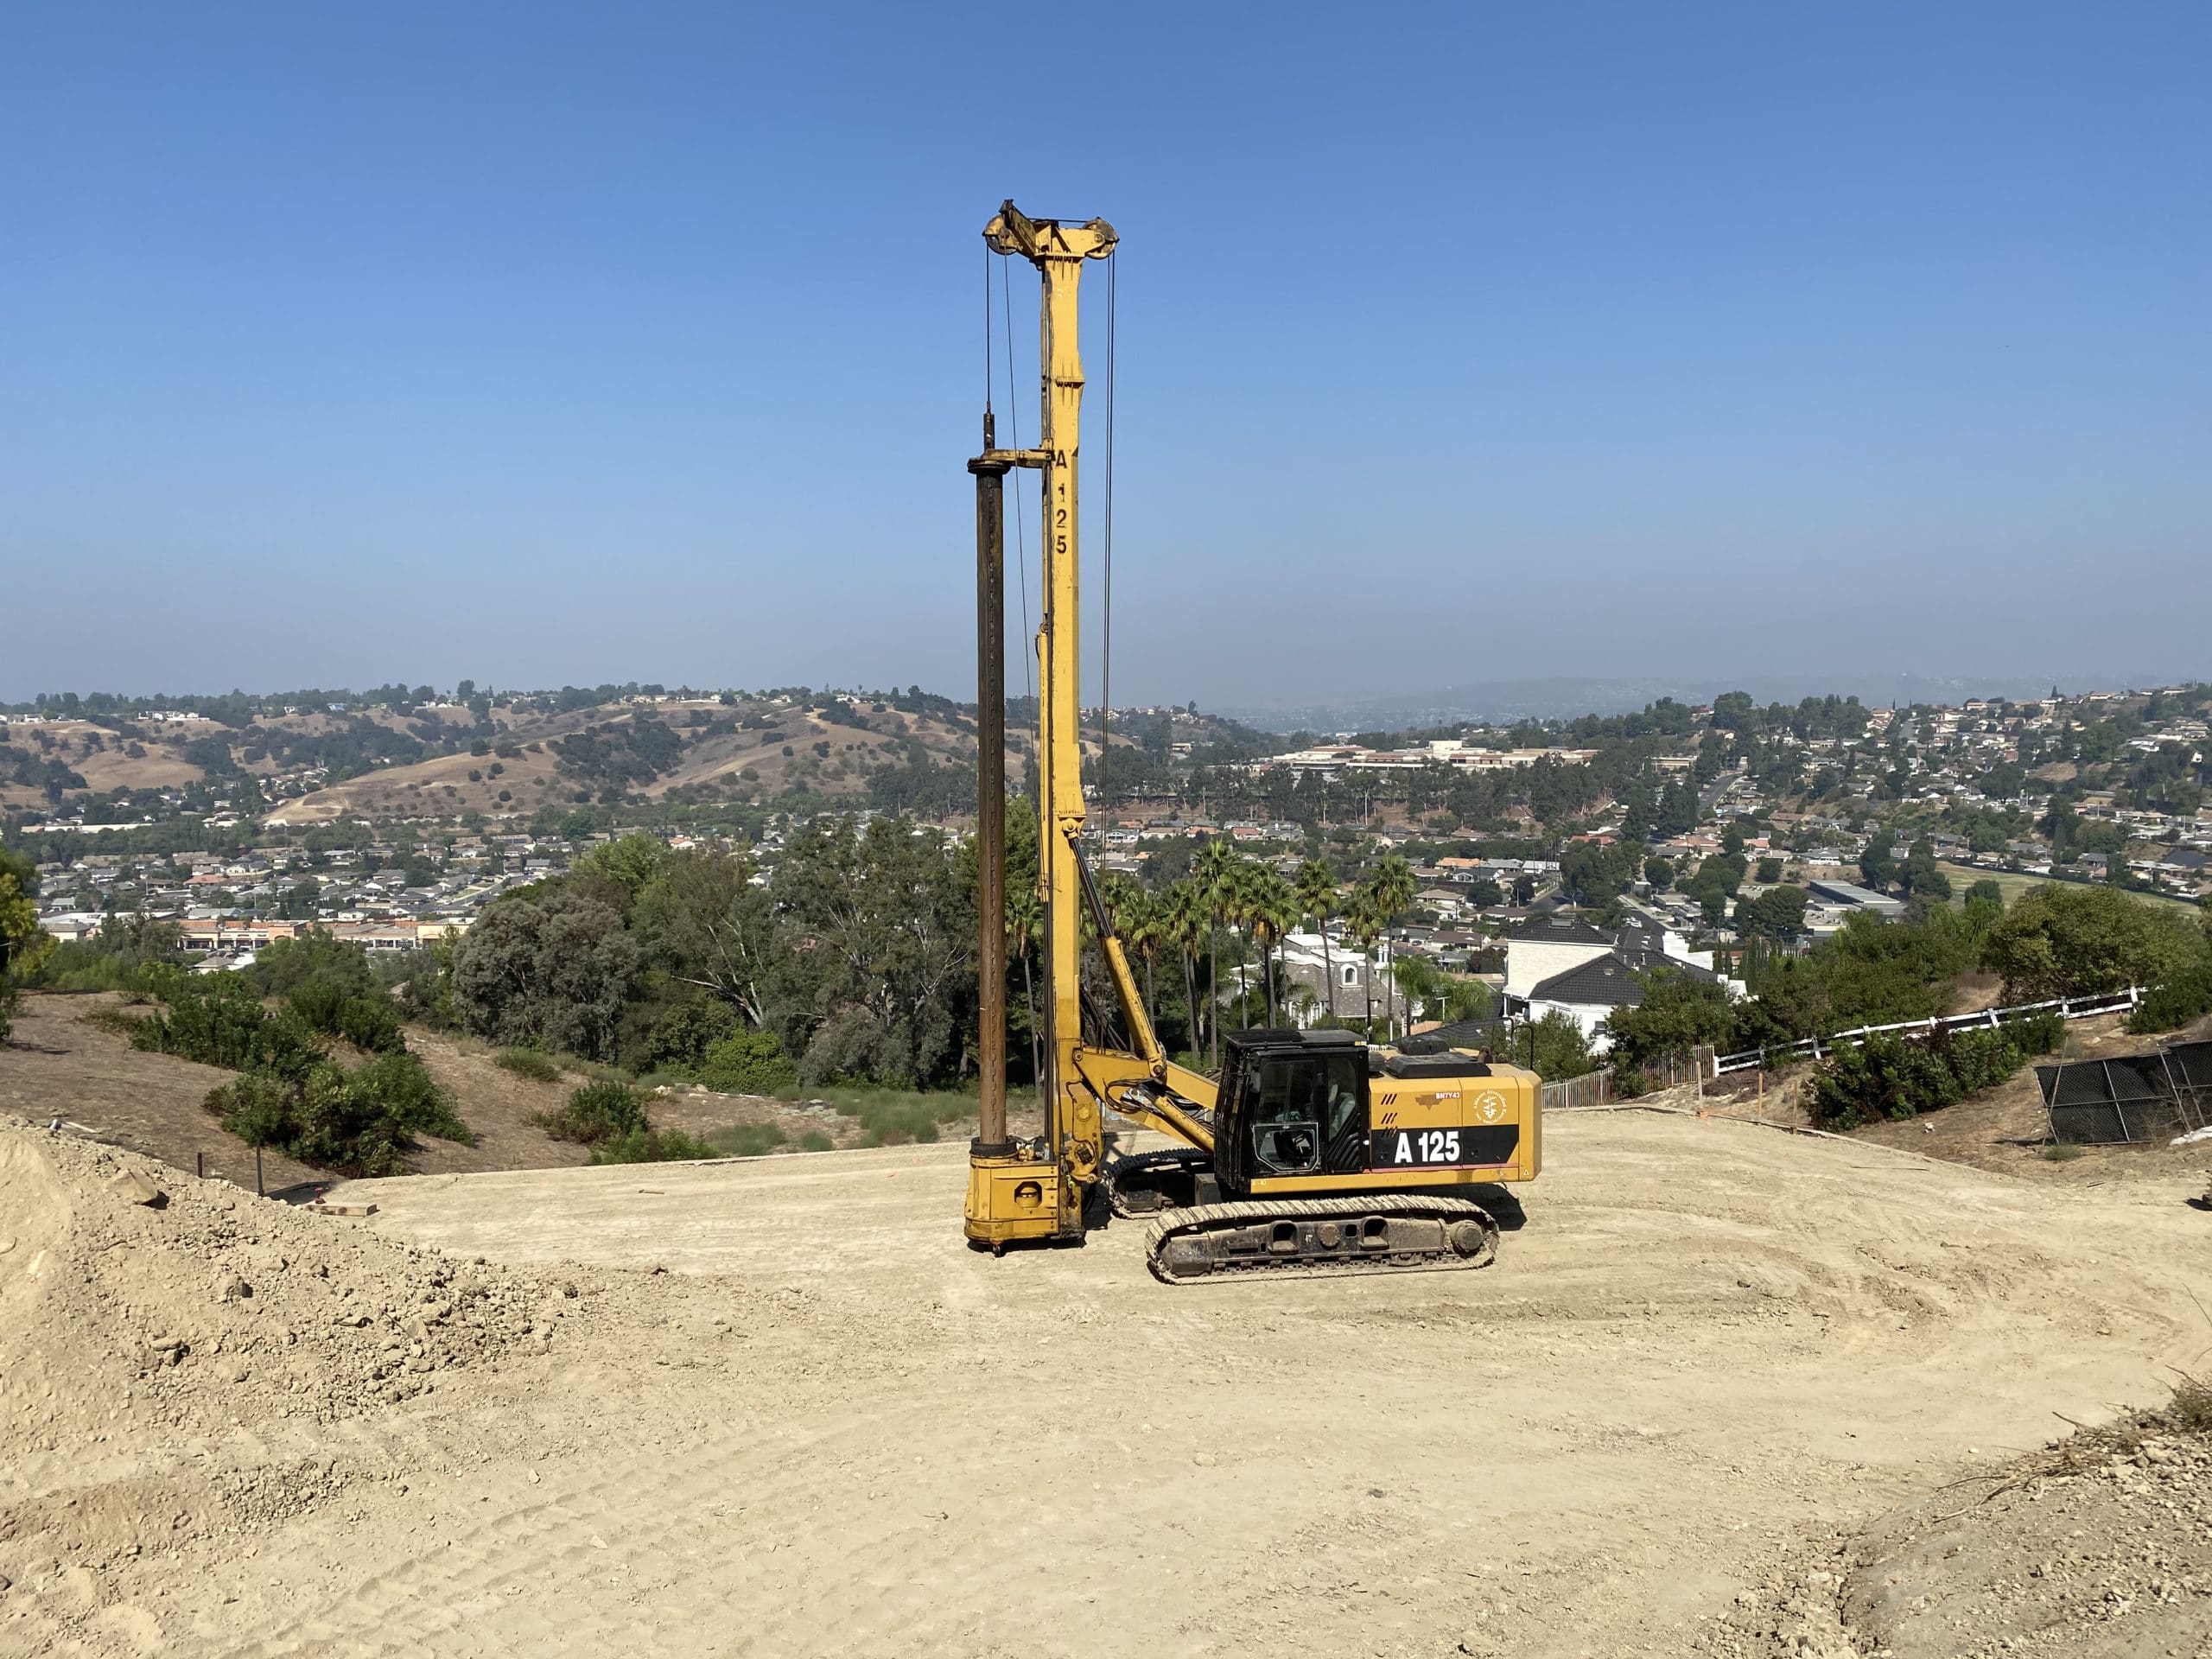
Drilling Caisson Holes
Before building the retaining wall we need to anchor it into bedrock. So our surveyor will mark the locations where we will drill the hole into bedrock for our caissons, and our drill rig will come out and drill the holes for the caissons. It’s important to make sure that you can safely access the drill site with the drill rig so a progressive grading and compacting plan is imperative in assuring the safe access to the drill site.
Step Six: Building and Installing Caissons
Caisson are structures built of rebar and concrete that we build on site. First the rebar cages will be built and inspected. The cages make up the frame of the caisson, and are craned into the holes, where the concrete is then poured using the whole as a form for the concrete. Part of the caisson is left protruding out of the whole so that we can anchor our grade beam into the caisson.
Step Seven: Building the Grad Beam and Retaining Wall
Next we will create the form for the grade beam on top of the caissons, pour concrete, and repeat the process for the retaining walls. So the retaining wall is anchored into the grade beam, the grade beam is anchored into the caissons and the caissons are anchored into bedrock.
Step Eight: Waterproofing
At this point it is critical that the retaining walls and grade beams are waterproofed with an impermeable membrane. So before backfilling we waterproof the sides of the retaining wall and grade beam that will be submerged under the soil when we backfill. This is done in order to fight water intrusion that could result in corrosion of the reinforced steel. Since steel expands when corrosion occurs, this could result in cracks in the retaining walls. On the exposed exterior of the retaining wall—decay and discoloration can appear as well if the retaining walls have not been properly waterproofed.
Backfilling and Drainage
Step Nine: Drainage
Since the retaining walls we’ve built are impervious (meaning water cannot pass through them) it’s critical to have proper drainage behind each wall to relieve groundwater pressure. Without this pressure can build up and cause bulges or cracks in the retaining walls. We typically use a french drain as they are effective and hidden allowing for landscaping behind each retaining wall.
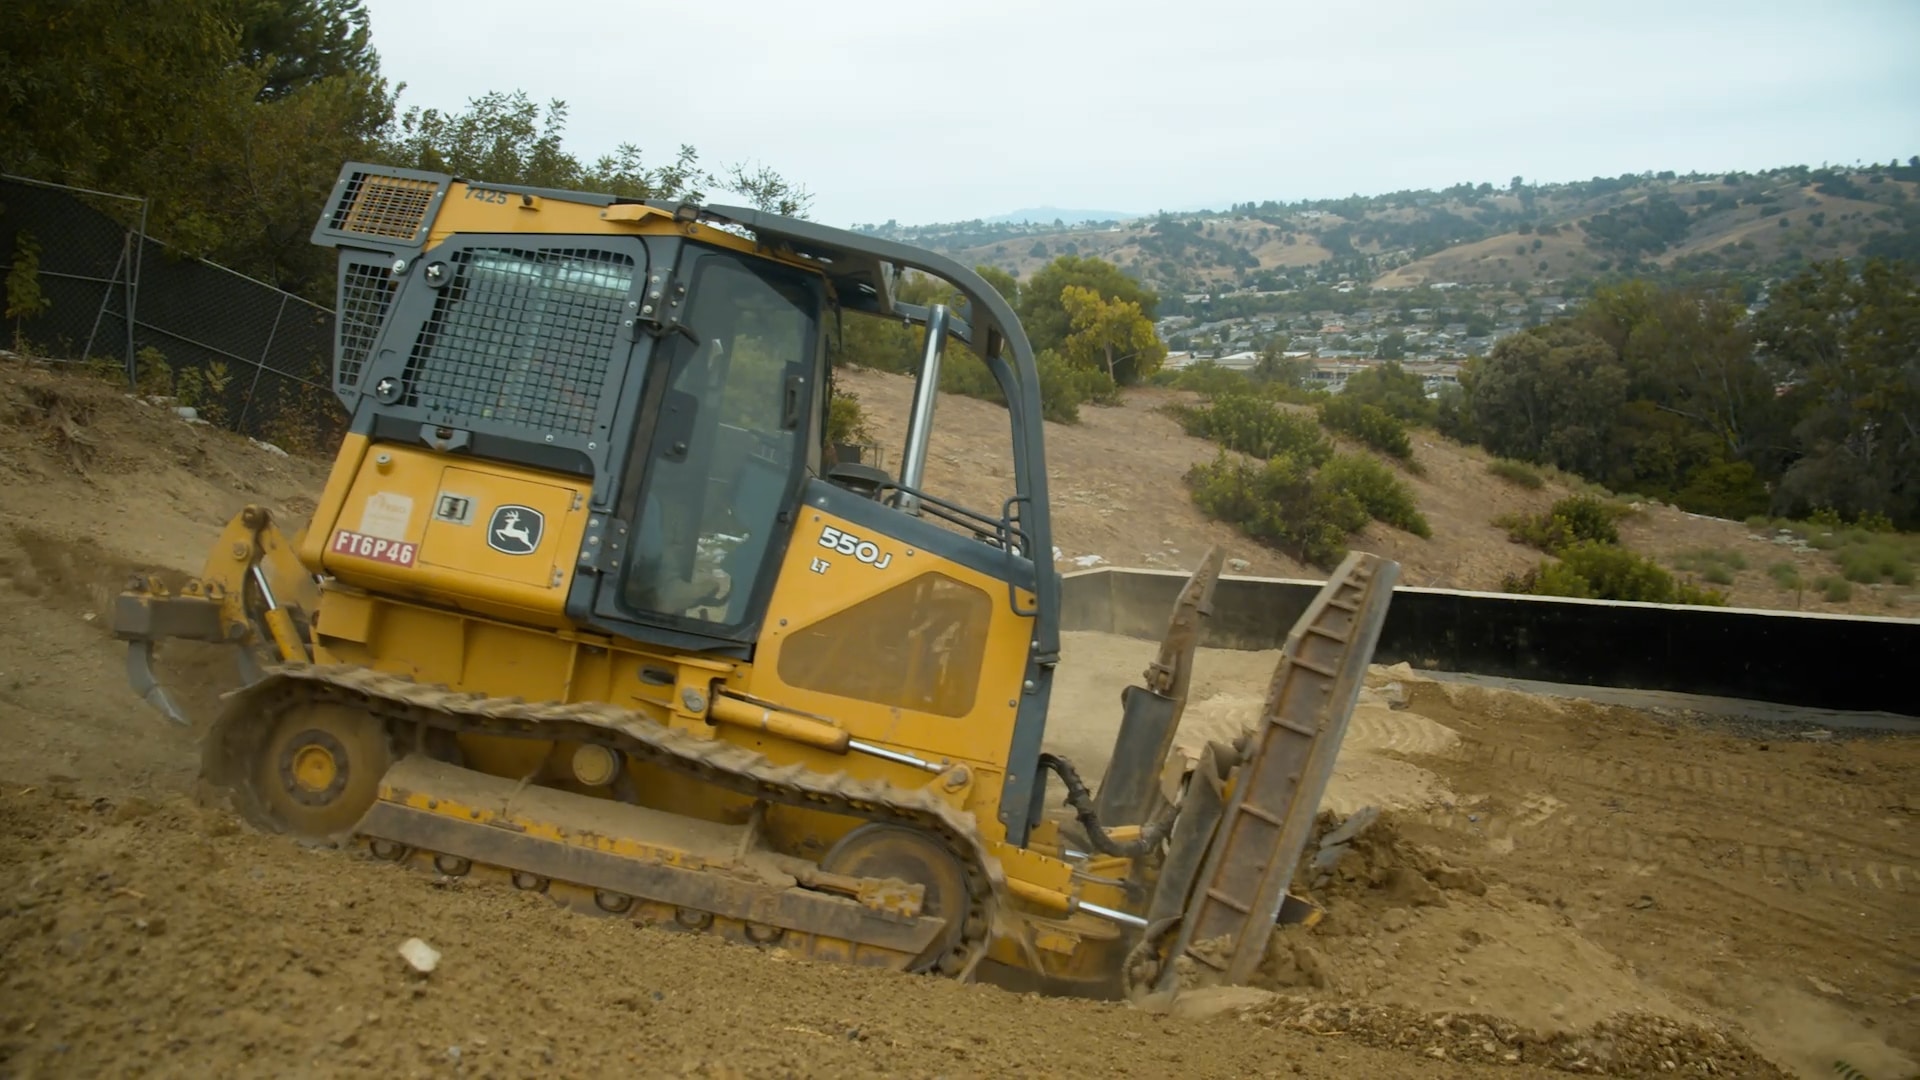
Step Ten: Backfilling and Compacting
Our final step in stabilizing the slope is backfilling and compacting the dirt behind the retaining walls. We do this progressively in levels behind each retaining wall in order to stabilize both the slope of the hillside and the retaining walls themselves.
Now that we’ve stabilized the hillside we’re ready to build the foundation for our home! Be sure to follow along in our next step on building on a Hillside.
James David Custom Homes